
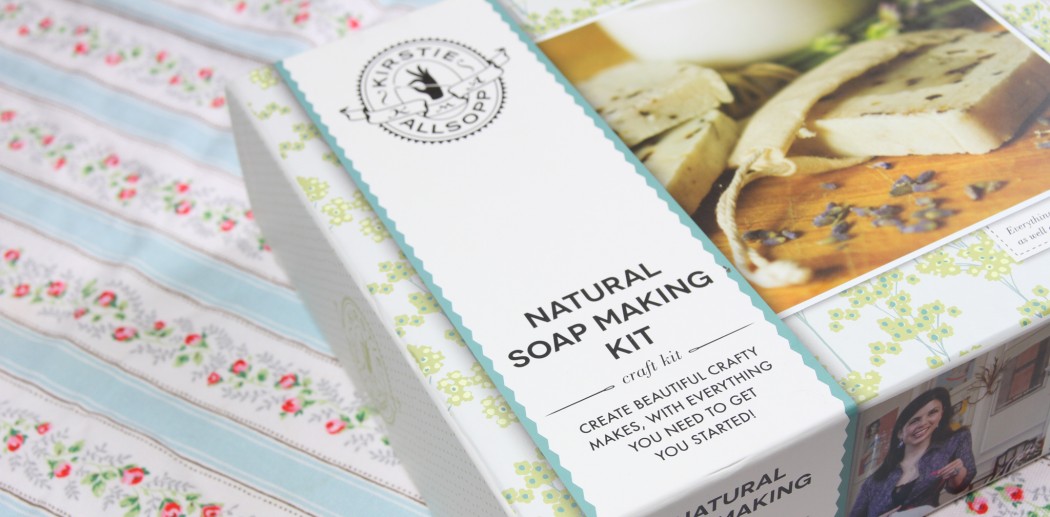
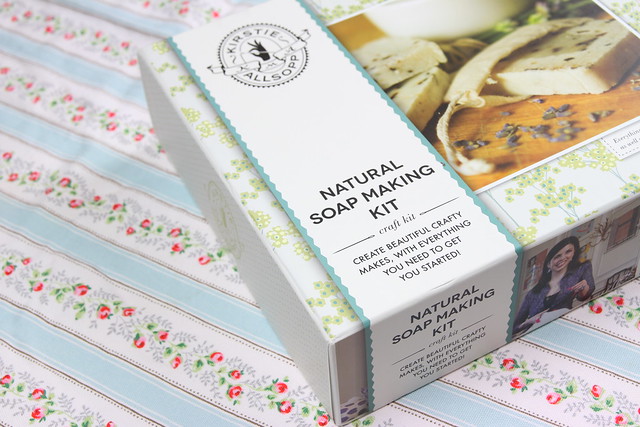
I love trying new things so when Hobby Craft got in contact and asked me to pick a Christmas gift I had a browse and decided that this was my chance to finally try making soap. It’s something I’ve always wanted to do and it ended up being a really fun evening in with Gadgetoid as we made soap, listened to Christmas songs and sipped on gin. I think one of these kits would be really fun to get as a Christmas present but only if you know someone would use it, some people just never get ’round to doing these things.
Today I’m going to be taking you through my soap making journey.
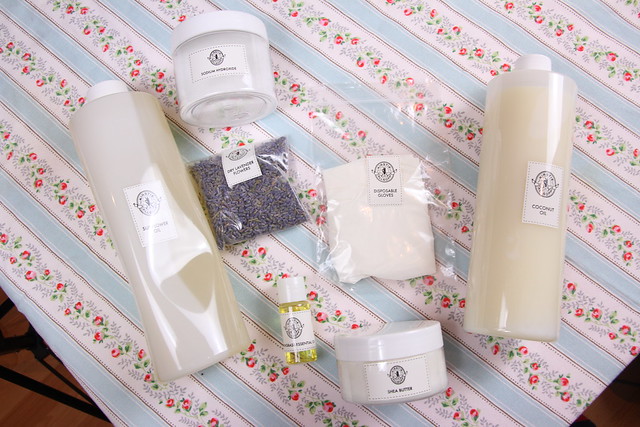
So, the kit comes with pre measured ingredients which makes things very easy for a first timer. In the kit there’s shea butter, sunflower oil, coconut oil, sodium hydroxide (lye), lemongrass essential oil, dried lavender flowers, a soap mould and disposable gloves. You will also need 250ml spring water, a mixing spoon and 3 large mixing bowls.
The very first step is to line your soap mould with plastic. I used a shopping bags but a freezer bag or bin bag will do the trick. I also used a few extra tubs I had at home so I could make a few batches.
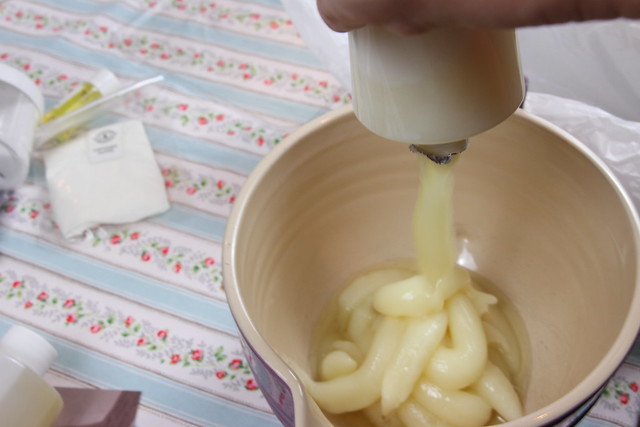
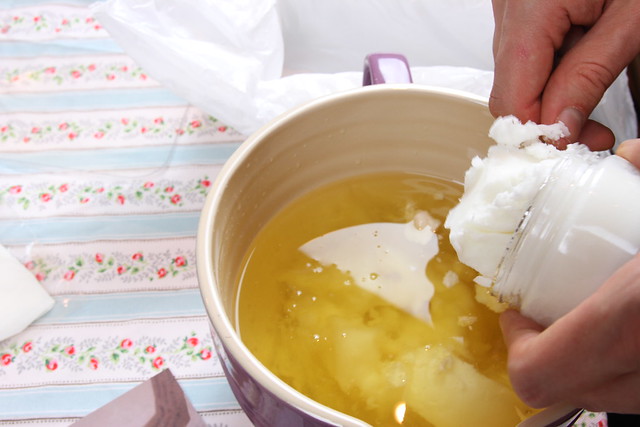
Then you need to grab your coconut oil, open it up and squeeze it into the mixing bowl.
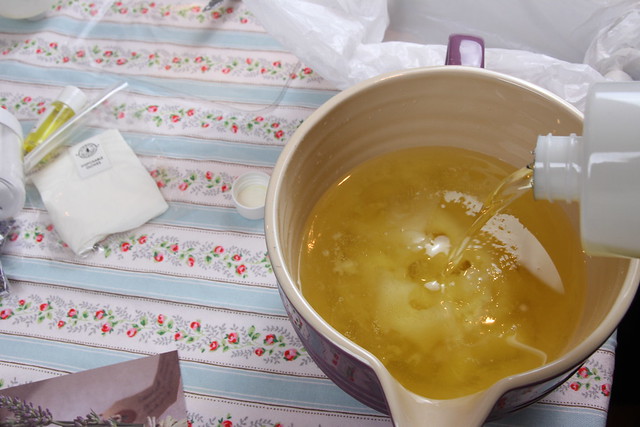
Open up the sunflower oil and add the into the coconut oil.
Finally, add in the shea butter and pop it all in the microwave. I don’t have one so I used an oven safe mixing bowl and bobbed it in the oven. You need to heat up the mixture ’til it’s all melted – hot but not boiling or smoking.
Whilst your mixture is heating up measure out 250ml of spring water.
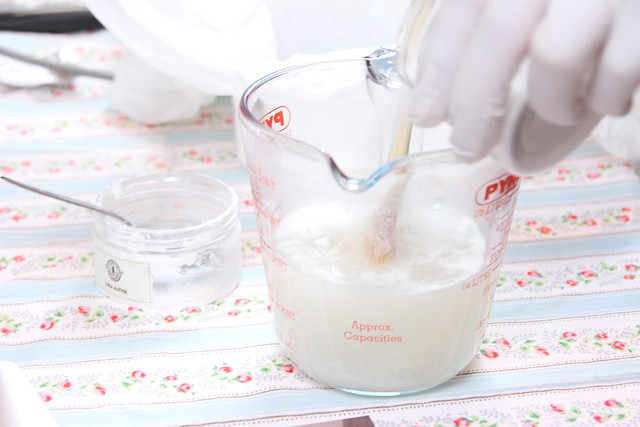
Put your gloves on (this is important because sodium hydroxide is very corrosive). Add the sodium hydroxide into the spring water whilst stirring gently until all the crystals have dissolved. Don’t be alarmed when you notice the mixture heating up, it’s pretty cool. It’s important to keep any pets/kids away at this stage because of the strong fumes – look after yourself too!
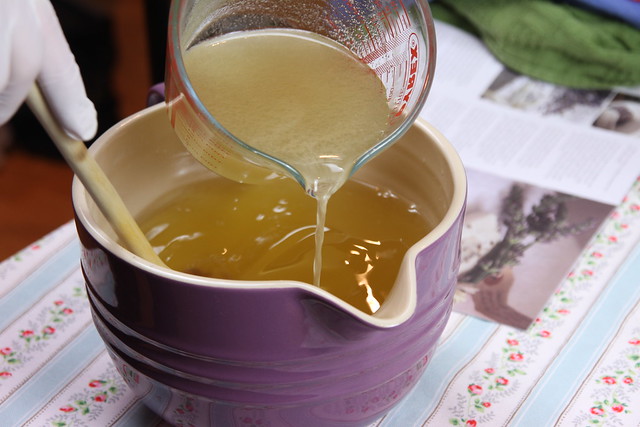
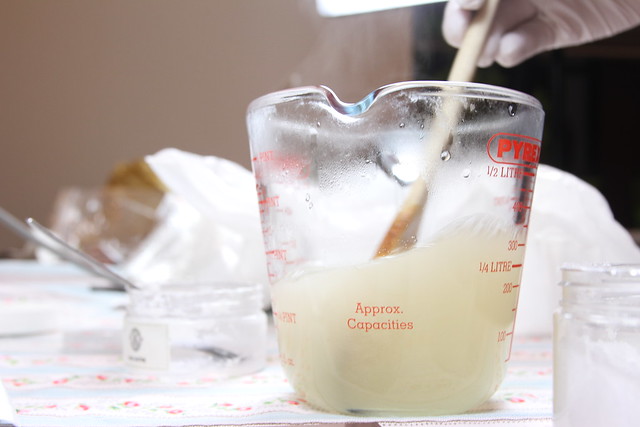
Carefully remove the heated oils and gradually pour the sodium hydroxide into the oils whilst stirring for 10 minutes. After this leave the mixture to sit for 5 minutes and then start stirring again for 10 minutes, rest for 5 and repeat.

Once the mixture is thick and resembles custard you should then check for ‘trace’. This means you need to pour the mixture off the spoon and see if it leaves an outline on top of the soap mixture.

Now it’s time to add the herbs and essential oils.
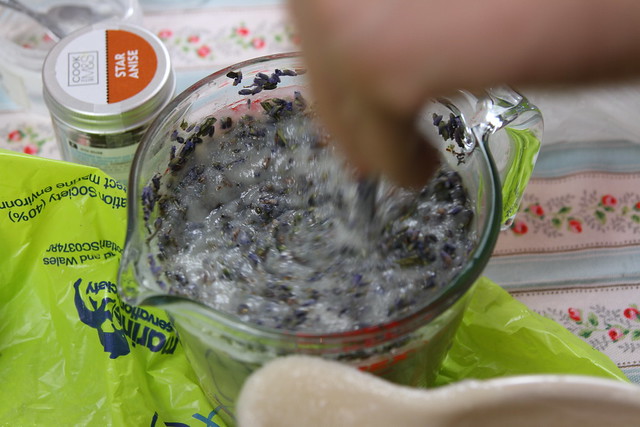
Give it all a real good mix.
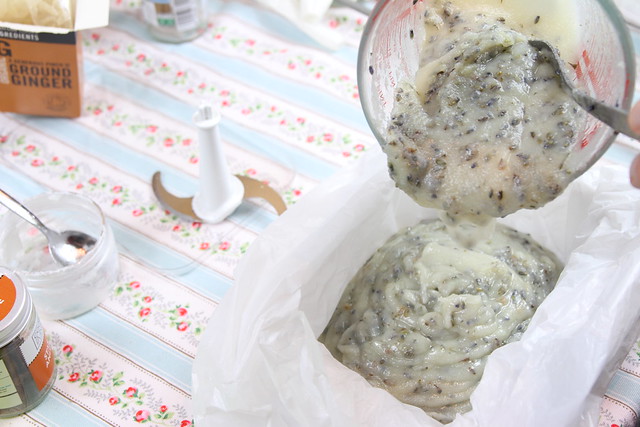
Once you’ve done that pour it into the soap mould, cover it up with a thick cloth and leave it somewhere cool to set overnight.
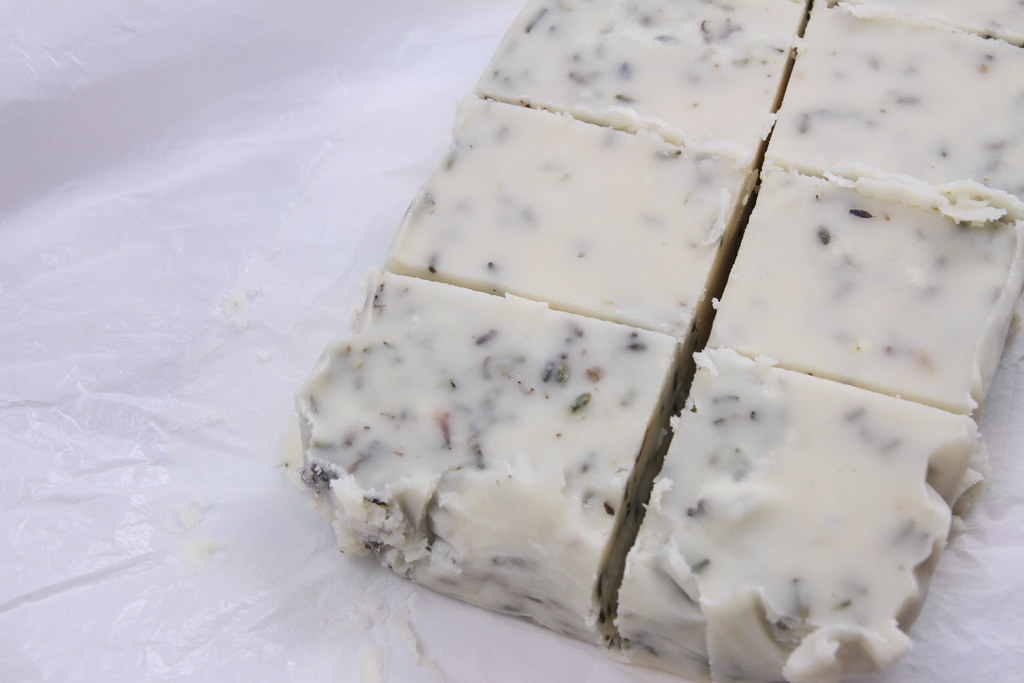
The following morning it’s time to give the soap a prod and see if it’s ready. If it has set solid then you can lift the soap out of the mould using the plastic. Grab a sharp knife or a cutter and create your soap shapes. I used a knife and cut the soap into small, useable sizes. Remember that at this stage the soap is still corrosive.
I’m afraid you’re all going to have to wait for 2-3 weeks while the soap is left in a dry place to cure. Once it’s ready I will share photos of the finished soap. I’ll also tell you more about the other batches of soap – I added various spices and I’m hoping they come out well.
Have you ever tried making your own soap at home?